Meet your next
weekend experiment.
Put a little depth on your workbench. Start with Pico, a nearby object and MkE Connect. Watch distance become data, then turn that first result into something your own code can use.
This guide covers the current evaluation configuration. Use the setup instructions supplied for your hardware and software release.
What you need
- Pico evaluation unit
- Supported computer or Android device
- USB data connection
- MkE Connect
A Pico evaluation unit, a supported computer or Android device, a USB data connection and the appropriate MkE Connect version. The connected computer or device is called the host.
What you need
The host supplies USB power, receives Pico’s sensing data and runs MkE Connect or your application software. It is the computer side of your project, separate from Pico’s built-in depth-processing microcontroller.
The Pico documentation lists MkE Connect for Windows, macOS and Linux computers. Android use requires Android 8.0 or later and USB OTG support. USB OTG lets a supported Android device connect to USB peripherals such as Pico.
A platform name alone does not confirm compatibility with every device or OS version. Check the offered release’s host requirements, USB connection and software support before choosing hardware. Running the viewer and running an AI model can have different requirements.
Pico contains a Raspberry Pi RP2354 microcontroller for embedded depth processing. You do not need a separate Raspberry Pi computer to use Pico with another supported host. The built-in microcontroller does not establish Raspberry Pi OS support or compatibility with every Raspberry Pi computer. Check for explicit support for your intended model and software release.
Connect Pico
Connect Pico to your host by USB, following the instructions for your unit. That connection supplies power and carries control, point-cloud and infrared-image data.
Use a data-capable cable. Follow any driver, permission or adapter instructions included with your release.
See your first point cloud come to life
Open the appropriate MkE Connect version and connect to Pico using the supplied setup instructions. Start with the depth view.
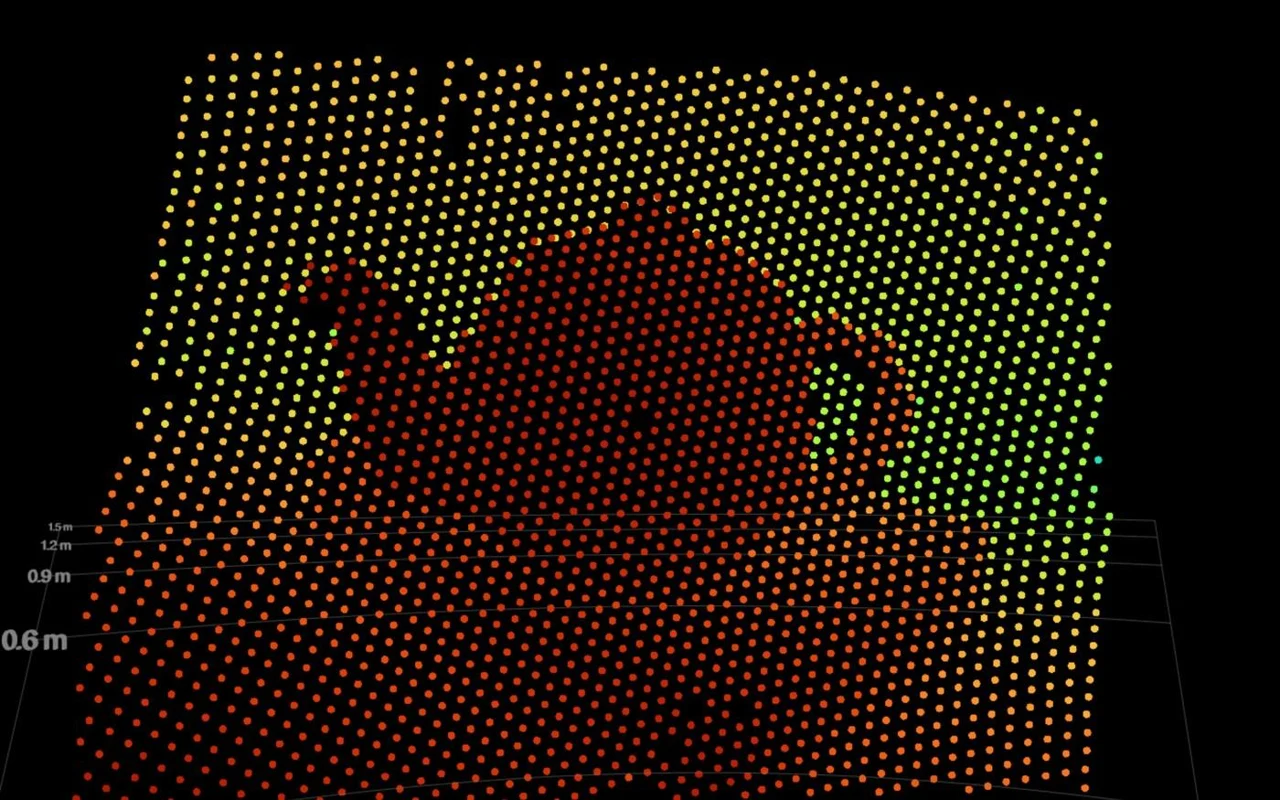
A point cloud is a set of measured 3D positions. Move an object within view and observe how the points describe its surfaces. Viewing live depth does not require an account, registration or programming.
Move a mug. Watch the depth change.
Place a matte, stationary object in view within the documented 18 cm to 2 m evaluation range. Start with a clear surface and an uncluttered background.
Bring the object closer, then slide it back. Watch its surfaces take shape in the point cloud. Compare the results and notice which areas return points and which stay empty.
The goal is to understand the data available to your application. An object’s appearance, position and surface properties can affect the result.
Add infrared context
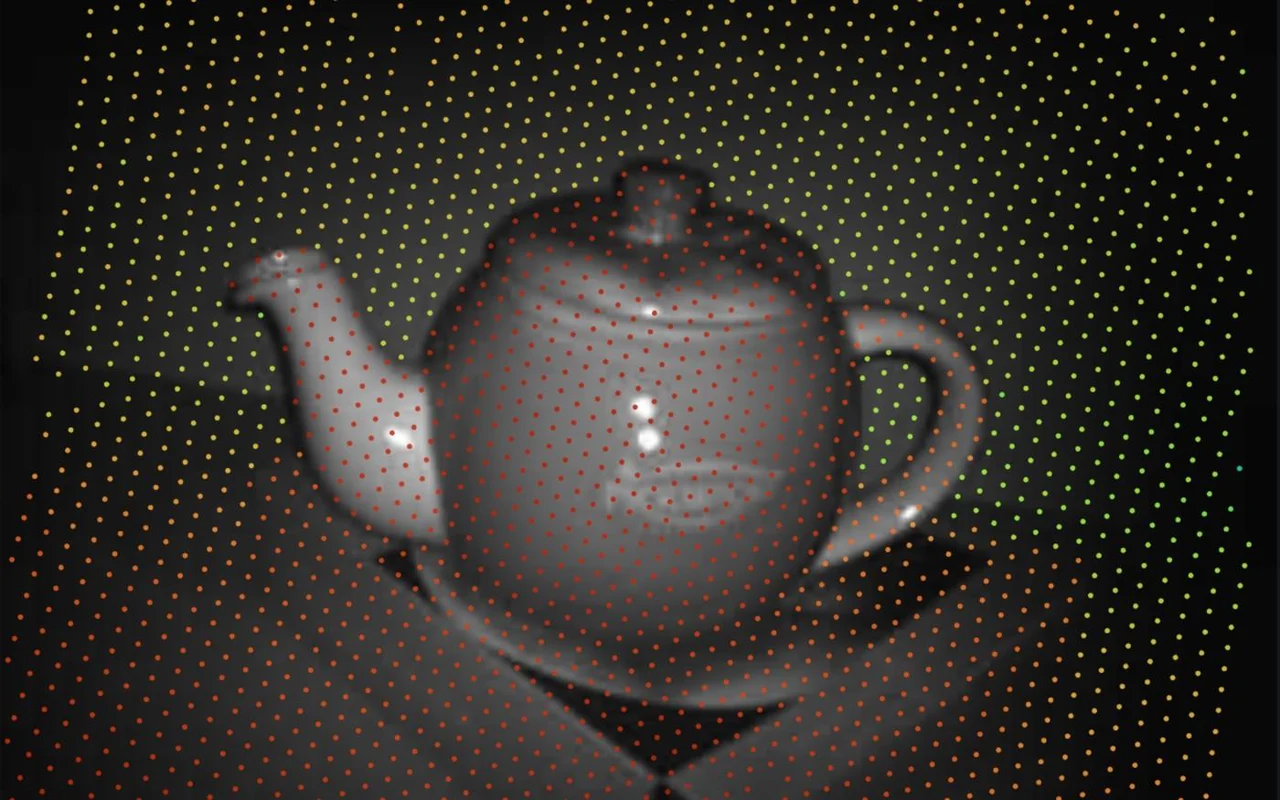
Explore the combined depth and infrared-image mode using the controls documented for your release. Compare the object’s infrared appearance with its depth points.
Depth and infrared captures alternate. They are not simultaneous, so account for motion between frames in your application. The infrared image is not a conventional RGB photograph.
Give your code something to react to
Use the MkE API over USB serial or supported SDK clients to read Pico data in your application. Begin with a distance rule and an on-screen response.
For example, change an indicator as measured points enter a chosen distance zone. Test that rule in your scene before connecting a motor or other physical action.
Object classification and gesture recognition need compatible software on your host. Choose or train a model for the infrared input your application will use.
Your first result is a starting point
A changing point cloud is your first small win. Get the connection working, see distance change and learn what Pico measures. Your software decides what happens next. Start with an on-screen response, then build from there.
SpecificationsStart experimenting with Pico
Make room on your workbench for a new experiment. Request early access to purchase a pre-release Pico, or get launch updates for availability and setup news.
Request Early Access to PicoGet Pico Launch Updates